Making My Own: Birthday Cake
Tomorrow is my official birthday, so last night after a swig of moonshine, I decided midnight was as good a time as any to bake it.
I went small, and LAZY. I found a 7 inch and an 8 inch pan (though I have umpteen 8 inch pans, don’t ask me where they are at midnight.) I settled on a devils food, with lots of hazelnut oil in it. The flavor is rich, but subtle, and perfect for the filling I have planned.
That’s where we stand.
In this first series of videos, I’m just going to talk you through how I go about making a buttercream here. It isn’t my basic recipe, but it’s close. I wanted MORE hazelnut, so 1/4 cup of Nutella got mixed in with 1 pound of butter. Follow along with the videos for real life in the Doughmesstic kitchen. Expect NO editing. Expect kids, shouting, and snotty heads. I imagine no less.
Part One: Making Nutella Buttercream
Part Two of Two: Making Nutella Buttercream
Next up, I’ll be piping and filling the cake. That is, if I don’t eat all the buttercream. Gosh, it’s good. Stay tuned. I’ll let you know via Facebook when the next segment is up!
Okay – here you go! Two more videos…
Step 3–Filling and Slicing
Piping
And here’s what it looks like all filled, and then stacked.


It’s in the fridge now, chilling. That means it’s time to move in to sculpting that owl. I doubt I do a video for that, but I’ll post a few pics as I go.
UPDATE:
Wow, time got away from me.
So here’s a play by play of what went down this evening.
First up, the cake stayed in the fridge while I made the owl. I used the four pre-packaged cereal treats to shape a rough head and body. I kept them separate while adding fondant – it’s easier and makes the process simpler. You can be decorating one piece,and not worrying about messing up the other.
In the second picture, you can see that I have taken some random blue and white fondant to beef up the owls body. It was leftover fondant from a past order, and I like to use what I have. It’s not like anyone will be eating this bird, but even they did, they’d just see some off color fondant as they took a bite. No big deal.
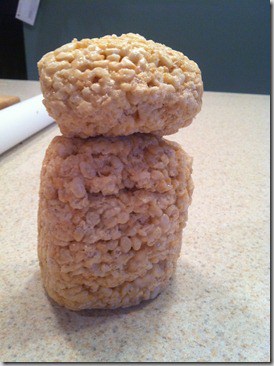
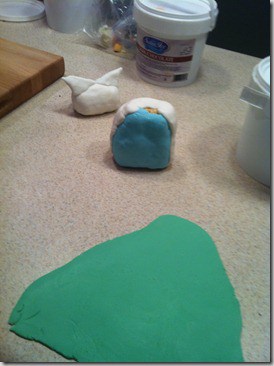
You can also see in the second picture that I rolled out a thin sheet of green fondant. This I cut out with a round cutter (a large piping tip, actually, it was about an inch in diameter.) If you take a look at the third picture, you can see I stretched it a bit into a teardrop shape, quickly stamped it with a paisley stamp (a regular scrapbooking type of stamp, nothing special) and then perforated it with some decorative holes around the edge.

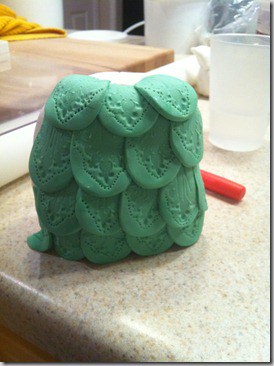
In the next frame you can see how I layered these “feathers” onto the belly. I started at the base and and overlapped from left to right, bottom to top. You just attach them with a little dab of water.
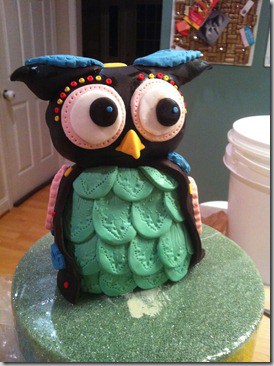
To that I added the chocolate fondant wings, which I decorated with a few multi-colored paisley press-outs and dots. Nothing fancy. Once the body was done, I placed a skewer through it, then placed the head on. The skewer goes into the head, as well as down into the cake, for added stability.
For his head, I covered it in more chocolate fondant, then added plain circles for the eyes. Pink first, then white, then brown, then a tiny blue highlight dot. I also added a few embellishments as well as a freeform yellow nose.
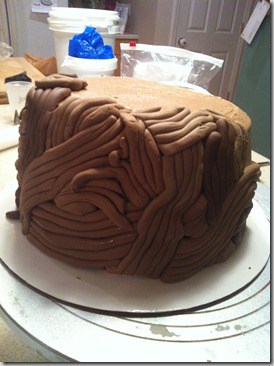
What took much longer than I anticipated was the “nest”. For this, I made varying shades of brown and tan fondant, rolled them into tubes, then cut them into pieces and scored them with a bit of wood pattern. I used no rhyme or reason for placing them, just kind of freeform and fun.
Lastly, I cut out a few leaves, buttons, and flowers to add to the nest. Nothing difficult!
Here you have the final cake. What do you think?
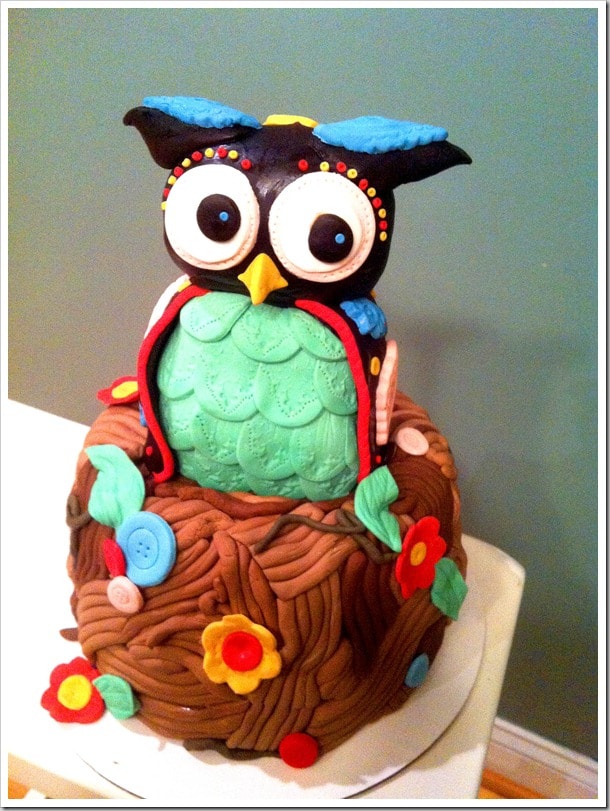
Not perfect, of course, but…not too bad. I’ll be honest, I am kind of excited to eat it! That buttercream was delish!
Have a great night everyone, and thanks for the encouragement to do this. See you again soon!


