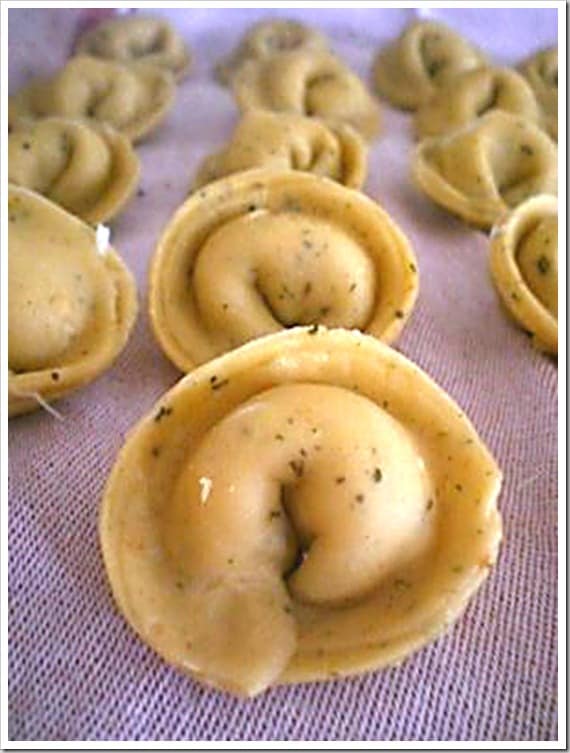
Tortellini from Scratch for Official Tortellini Day
Have you made tortellini before?
It’s easy, really. Sure, it takes time. Good things do take time. You can get together with friends and family if you like, and make a big day of it, hanging out in the kitchen. But the great part about making it yourself? You can freeze bags of it, and pull them out anytime you have a hankering for delicious pasta.
That’s good news, right?
Also good? It’s cheaper than buying it in the store..and tastes a lot better, too. You can fill it with meats, or cheeses, or really anything that strikes your fancy. Since you have all those people over helping you make it – make a few different kinds and share. Send everyone home with a bag or two…they’ll love you for it.
Give it a try. It’s the official day of tortellini, after all.
Herbed Tortellini with Mozzerella & Parmesan Filling
Ingredients
3 cups All Purpose Flour
4 Large Eggs
Dash of Salt
2 to 3 Tablespoons Combined of the following Spices:
Powdered Garlic, Oregano, Basil, Powdered Parmesan, Ground Red Pepper, Ground Sundried Tomatoes, Onion Powder
For Filling
Around 1 cup Grated Fresh Mozzerella (or grated pre-packaged will work, too)
1/3 cup Fresh Ground Parmesan
Pinch Garlic Powder
Instructions
Using your stand mixer and dough hook, combine all ingredients on low speed until very well combined and the dough is a big ball. This is a tough dough, so watch the mixer – it will fight you a bit. Remove the dough and begin to knead the dough by hand until smooth and pushes back. I kneaded by hand at least 15 minutes, maybe more. Form into a ball and tighly wrap in plastic while you prepare the filling.
Have the filling ready when you are starting to roll out the dough. The dough needs to rest for around a half hour or more before you roll it. Cut the dough into thirds, and re-wrap the 2/3 you aren’t rolling so that it doesn’t dry out.
Roll out the dough with a pin or, if you have it, a pasta maker. I roll mine by hand, it isn’t terribly difficult, but you will need to use some muscle. Roll as thin as possible, so that when you hold it up to the light, you can almost see through it. It helps to routinely flip the dough over and reroll it, over and over. At least this method worked for me.
Once it is rolled out, using a large round cookie cutter (2 inches or so in diameter is what I used), cut out as many circles as you can. This dough will dry out pretty quickly, so don’t wander off. The dough that is left over after cutting the circles can be re-rolled to make more circle.
Once cut out, put a small amount of the cheese filling on the round, apply a small amount of water to half of the circle with your fingers, then fold in half, making sure to seal tightly. Finally, pull the sides together to form the classic tortellini shape and pinch the ends together.
Place the filled tortellini on a dishtowel as you go, so that they won’t stick to your work surface. Once you have finished the first third, move on to the remaining dough and repeat the process until all of the dough has been used.
Prepare as desired.
So that’s my recipe for the tortellini, but you want a few recipes to prepare it, right? Here are a few from my blogging friends that look amazing. At least one is sure to please!


