Kids Bath to Guest Bath (and back!) Makeover
I think this is a quandary many homes have. You have a guest bath, out in the hall. It’s also the bathroom your kids use. So what do you do? Do you decorate it all adult-like, to be more appealing to your guests, or do you go the kid route, and hope your guests understand the bright and childlike décor?
I have that dilemma.
Seven’s bathroom is our one and only guest bathroom. We do often have guests, and I want them to feel welcome and not overwhelmed by an onslaught of colors and rubber duckies and other bath toys. But I also want him to have a fun bathroom, full of things that inspire him. I want it to be a fun place for him to get clean and get ready in the mornings.
I came up with a solution, with a little encouragement from the helpful folks at Lowe’s Creative Ideas, where I am now a supporting cast member. (I know, right? How lucky am I??)
I call it the 10 Minute Switch.
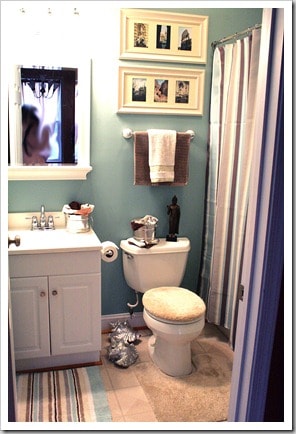
It took some revamping to get our outdated bathroom into shape, so that we COULD swap it out from Kid’s Bath to Guest Bath, but every single change was worth it.
Here’s what we did…
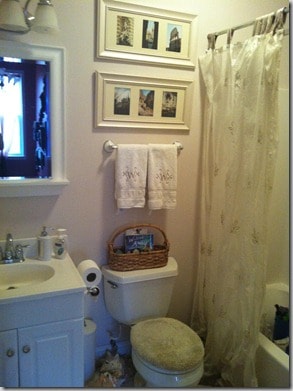
First, as you can see, we had a lackluster, very neutral color scheme. A light tan, a sheer shower curtain, a couple of natural seashells, a couple of framed pictures, and a towel rack. I also had a fairly new toilet seat cover and rug in a shade of khaki.
I am a HUGE proponent of using what you have – be it something already in a particular room, or something you can repurpose from another room. Not everything you do has to cost a lot of money – sometimes a figurine or painting you have n one room will get a new life once you move it elsewhere. So look around and see what you have to work with.
We had purchased a shower curtain and a couple of accent pieces that were kid themed for Christmas, but I hadn’t gotten around to getting them put up yet. To be honest, I was torn on whether I even should, as I was afraid of the kid/guest thing. So, I did have that to start with on the “Kids Bath” side of the project.
For the rest, I went to Lowe’s to shop around and see what I could find. I lucked into a gorgeous striped shower curtain that I loved, along with a couple of accent pieces, some galvanized buckets in 2 sizes, a can of reflective silver spray paint, some new shower curtain rings (you’ll see why I opted to get more), an adjustable shower curtain rod (again, you’ll see why I bought one), and a gallon of paint in a color that matched the teal stripe in the shower curtain. It was a risk, but I knew the kids curtain had a shade of teal in it, so I had my fingers crossed.
A stop at Target was a huge surprise – there was a set of washcloths and a floor rug that MATCHED the shower curtain I had just bought at Lowe’s. It wasn’t exact, but gosh, was it ever close! So I grabbed those and a few other accent towels and headed home.
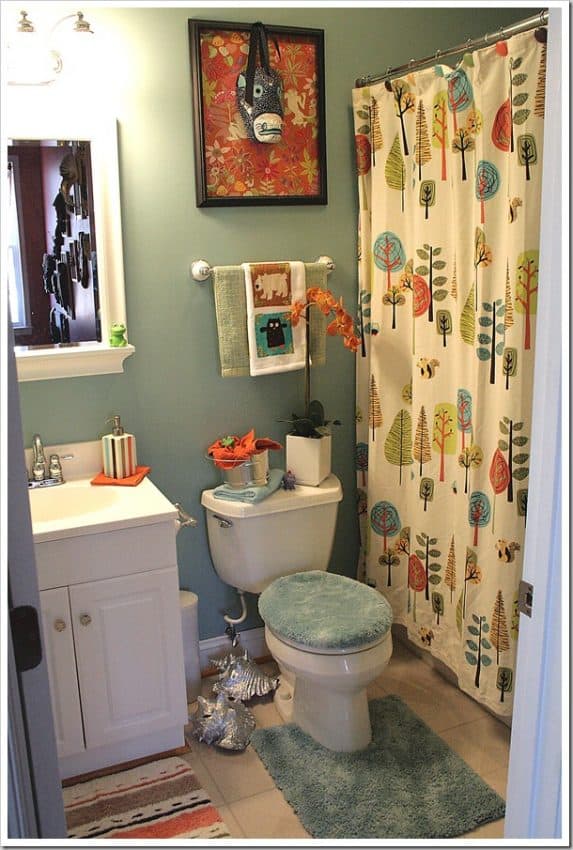

Jon helped me paint – he also removed the towel rack and mirror, curtain rod, faceplates, and the tank so that we could paint cleanly. Together we were able to paint the entire bath from start to finish in just under 2 hours, and it looked immediately better! The teal color was adult enough AND childlike enough, so it was a great choice. The color was called Seascape, from Valspar, and that was the perfect name for it!
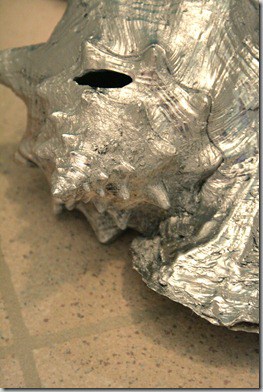
As the paint dried, I took our seashells and gave them a modern update with that shining silver spraypaint. I LOVED the results! Two coats of silver had them looking mirrorlike and very hip – a great addition to both the Kid’s bath OR the Guest Bath.
Once the walls were dry, I started loading the room back in with the Kid’s Theme.
Two shower curtain rods went up – the permanent one as well as the adjustable one. Why two? Well, when it comes time to swap out curtains between Kid’s and Guest, you can just leave the liner up and quickly remove the decorative curtain. That’s the reason I bought more shower curtain rings, too – you just remove the entire curtain and the rings at switcheroo time. Couldn’t be easier!
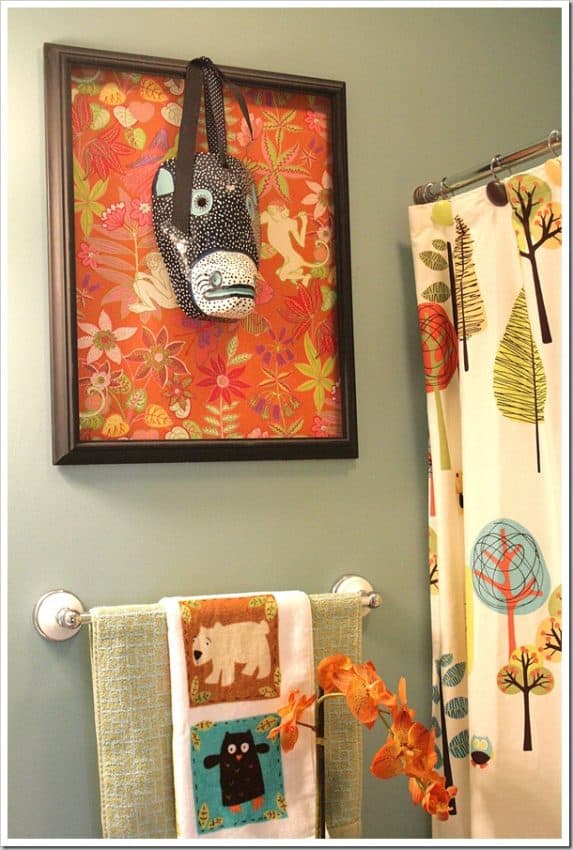
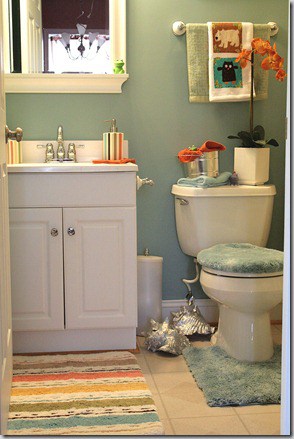
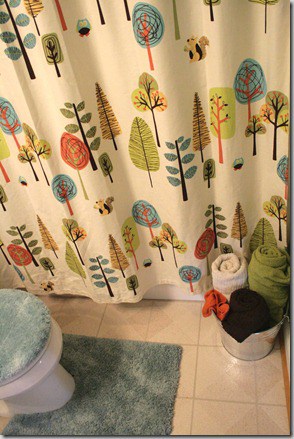
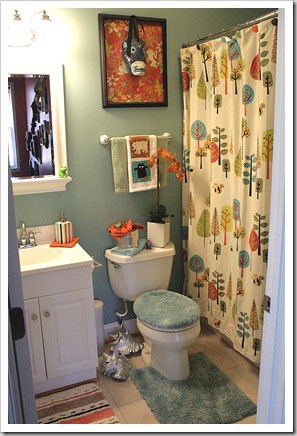
The Kid’s Bath got the new/old shower curtain, some new rugs, the accent pieces, and a fun framed piece of fabric that I had put a mask on (from our travels to Africa) – it wasn’t a perfect match but the colors went, and I like it! I also filled a small tin bucket (from Lowe’s) with matching washcloths, and a large tin bucket with matching towels. I ordered Frog Knobs from Lowe’s and put those on the cabinet doors (too adorable), and I also added an orchid and a few colorful bath toys (no purchase required!) and called it DONE!
Isn’t it cute?
Now, onto the GUEST Bath. The goal? Be able to change it out in under 10 minutes. That’s no time at all if you think about it.
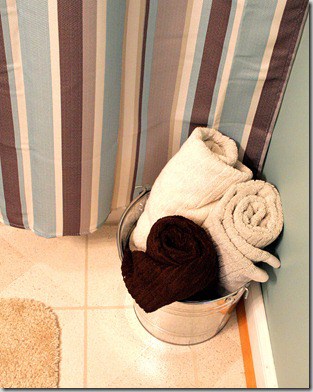
- Take down the kids curtain and put up the striped curtain.
- Replace the rugs and toilet seat cover.
- Change out the tin buckets with “Guest” Tin Buckets – filled with matching towels and another small bucket full of travel sized shampoos, lotions, gels, etc. (No, I didn’t steal ALL of those. Much.) I keep the filled buckets under the sink, ready to go at a moments notice. The buckets are CHEAP at roughly $3 for the small and $9 for the large, and keep things contained and ready for when YOU are.
- Keep an extra empty tin bucket (or crate, whatever) to scoop the kids soaps, toys, etc into, and cart them to where they will be using them. Or, place them in the kids room until needed.)
- Swap out the accent pieces (I just keep mine beneath the sink)
- Swap out the framed mask with the old framed pictures.
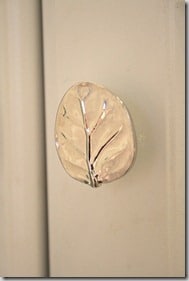
- Finally, replace the Frog Knobs with Leaf Knobs (also from Lowe’s). You could certainly opt to just choose a more neutral knob, but I was having too much fun!

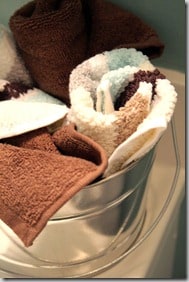

See, different bathroom!! I can do it in 7 minutes. Really! You should consider doing something similar in your own home if you find yourself in the same predicament. I love how easy it is and how great it looks in both scenarios!
For more home improvement tips and tricks, check out Lowe’s Creative Ideas online.
Have a great day!
*Disclaimer – I was given a gift card to shop at Lowe’s for this project, but all thoughts and opinions are 100% my own. I also apologize for the photo quality – it’s HARD to take good pics in a tiny bathroom that has no natural light!

