Peanut Butter Cup Cheesecake
Some things are just too good not to share.
Like cheesecake. And chocolate.
I used to be frightened of cheesecake, believe it or not. A neighbor made me one before I ever started this food blogging adventure, back when I couldn’t boil water, and I looked at that thing like it was from outer space. Yes, of course I knew what a cheesecake WAS, but I had NO IDEA a human could make it in a regular kitchen.
And yet, there it was.
From my very first baking experience making cheesecake, I have found a love for it. Perhaps because there is so much that can go wrong? Perhaps because there are so many steps, so many hours to wait? Perhaps. Whatever the reason, I love making cheesecake, and over the past few years, I have studied and reasoned and created and practiced until I feel I have the perfect base recipes. The base that will serve as all future cheesecakes. The base that will allow you to make a Peanut Butter Cup Cheesecake with NO ISSUES.
Peanut Butter Cup Cheesecake.
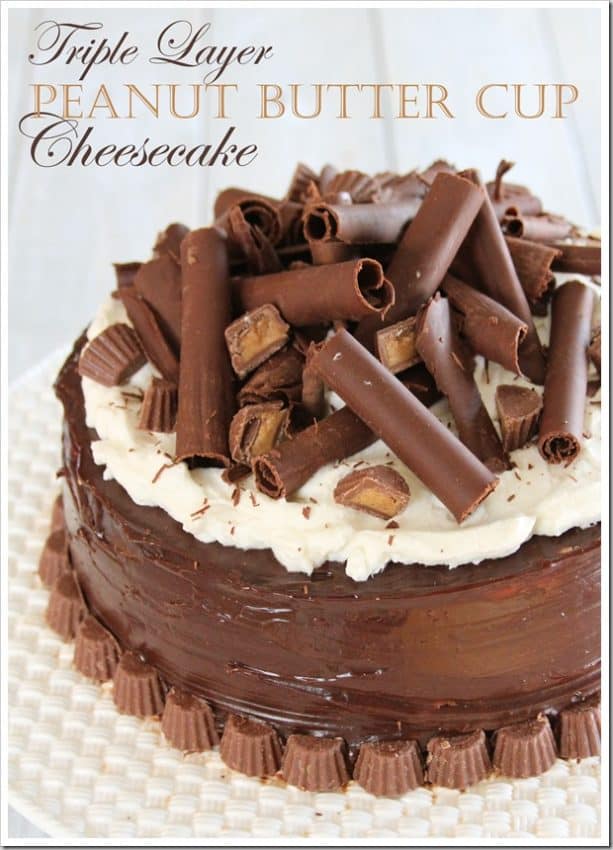
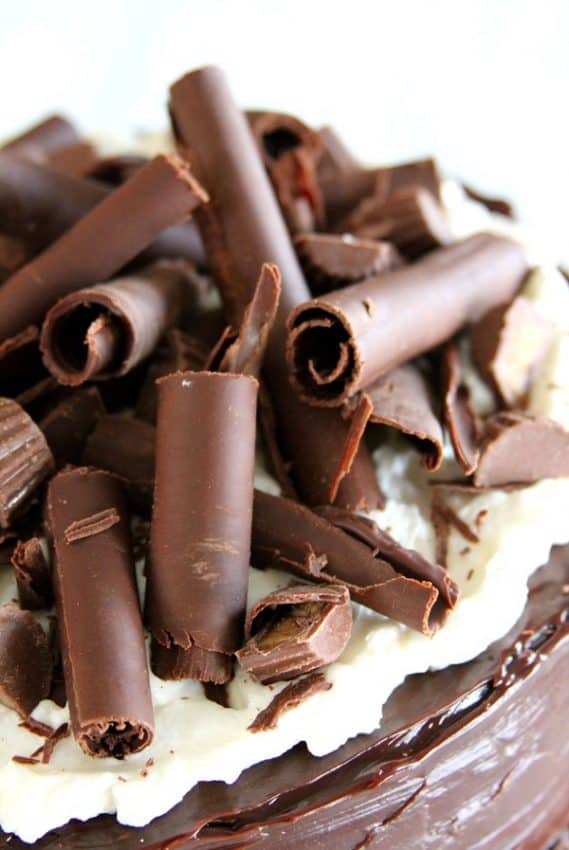
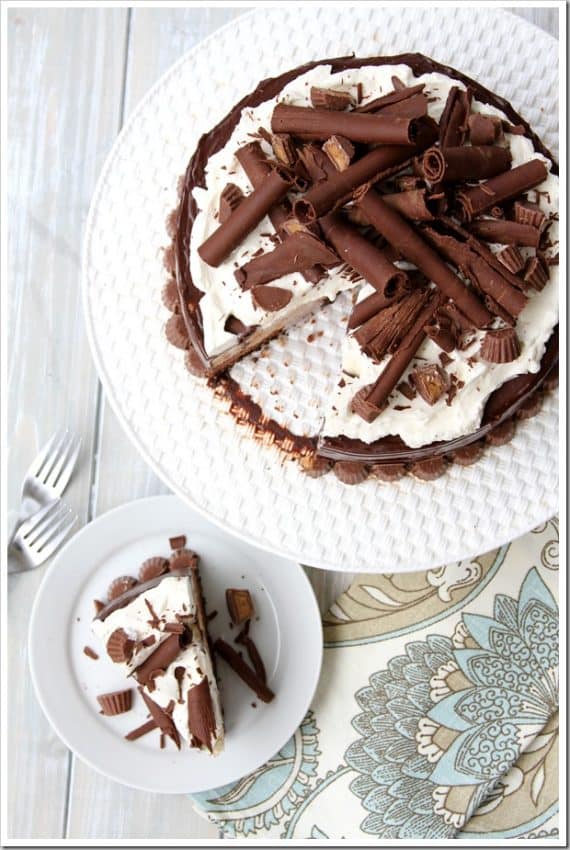
Three layers of cheesecake, starting with a deep dark chocolate bottom layer, followed by a peanut butter cheesecake layer dotted with chopped peanut butter cups, a plain (plain!) cheesecake layer, then topped with vanilla whipped cream and piles of chocolate curls and candies.
It should be illegal, but thank goodness, it’s not. You can eat it all you want, heck, even hoard it to yourself, but I advise you share it. Your friends and family will love you for it, and just think…every bite you share is about 15 less minutes on the treadmill.
I wish I were kidding.
15 minutes per bite.
It’s worth it.
Enjoy!
Peanut Butter Cup Cheesecake
make one – 9 inch cheesecake
For the crust
- 2 cups crushed Oreo cookies (no cream)
- 1/4 cup sugar
- 1/4 tsp. salt
- 5 Tbsp. Melted Butter
For the cheesecake
- 4 – 8-ounce packages cream cheese , softened
- 1 2/3 cups sugar
- 1/4 cup cornstarch
- 1/4 tsp Sea Salt
- 2 teaspoons Vanilla extract
- 4 large eggs
- 1/3 cup heavy whipping cream
- 1/2 cup sour cream
- 1/3 cup melted dark chocolate
- 1/3 cup creamy peanut butter
- 2 cups (or more) mini Reese’s Cups
- 1 cup chocolate ganache
- 2 cups fresh sweetened whipped cream
- Chocolate Curls, to garnish
Instructions
- Preheat the oven to 350 F and grease or butter a 9-inch springform pan. Wrap the pan in heavy duty aluminum foil so that it is waterproof.
- For the crust, whisk all the ingredients in a bowl, then pour over the melted butter and combine well with a fork or your fingers. Press into the springform bottom and up the sides, about halfway is fine. Bake on a baking sheet at 350 for 10 minutes, then remove and allow to cool. Reduce the oven temperature to 180.
- Place one 8-ounce package of the cream cheese, 1/2 cup of the sugar, and the cornstarch in a large bowl. Beat with an electric mixer on low speed until creamy, about 3 minutes, then beat in the remaining cream cheese.
- Increase the mixer speed to high and beat in the remaining sugar, then beat in the salt and vanilla. Blend in the eggs one at a time, beating only until completely blended. Next, mix in the sour cream and heavy cream. Be careful not to overmix the batter.
- Remove roughly 2/3 of the batter from the mixing bowl and place in a bowl. Set aside.
- Beat melted dark chocolate into batter still left in the mixer. Once mixed, pour into prepared crust and spread evenly.
- Place half of reserved batter into same stand mixer bowl (no need to clean after removing the chocolate batter) and add peanut butter. Mix until combined. Pour peanut butter batter over chocolate batter and add chopped Reese’s Cups to this layer. Finally add plain batter to top of peanut butter batter.
- Place the springform pan in a large shallow pan containing hot water that comes about halfway up the sides of the pan. Bake the cheesecake at 180 until the top is very lightly browned, about 7 hours. Allow to cool in the oven with the door propped open.
- Cover the cake with plastic wrap and refrigerate until it’s completely cold, at least 4 hours or overnight. Remove the sides of the springform pan. Ice top and sides of cheesecake with chocolate ganache, and top with fresh whipped cream. Garnish with chocolate curls and additional Reese’s Cups as desired. Keep chilled until serving.
Real Seal
 I created this cheesecake with Real® Seal (you recognize the logo, for sure!) in mind. The freshest and most delicious cheesecake starts with the freshest and most delicious dairy products. Real Seal is the Real Deal. Look for it!
What does the Real Seal mean? Good question. The dairy industry four decades ago created the REAL® Seal. It’s an assurance that you are buying a genuine dairy product, made with milk from cows on U.S. dairy farms, and meeting strict manufacturing requirements. When you see the REAL® Seal on a dairy product or in a store or restaurant, you can trust it’s the real thing, and not an imitation.
To learn more about what the REAL® Seal means to consumers, what products carry the REAL® Seal, or what using the REAL® Seal can do for business, click on one of the links above. You can also visit the REAL® Seal Facebook page.
Disclaimer: This post was sponsored by Real Seal. All thoughts and opinions are my own.

